Scrapendipity : scrap·en·dip·i·ty

The gift of making fortunate discoveries by accident, a talent for making discoveries while searching for other things.


Showing posts with label Pam. Show all posts

Friday, June 24, 2022

Fun Friday with Pam

I hope you all find your piece of sunshine to play in.

This is Fairy Rocks aka Pam, signing off , Its been fun.
 Pop by my personal blog any time to see what I am up to. 


Friday, May 20, 2022

Friday, September 10, 2021

Fun Friday with Pam

ORGANIZING PRODUCT REVIEW

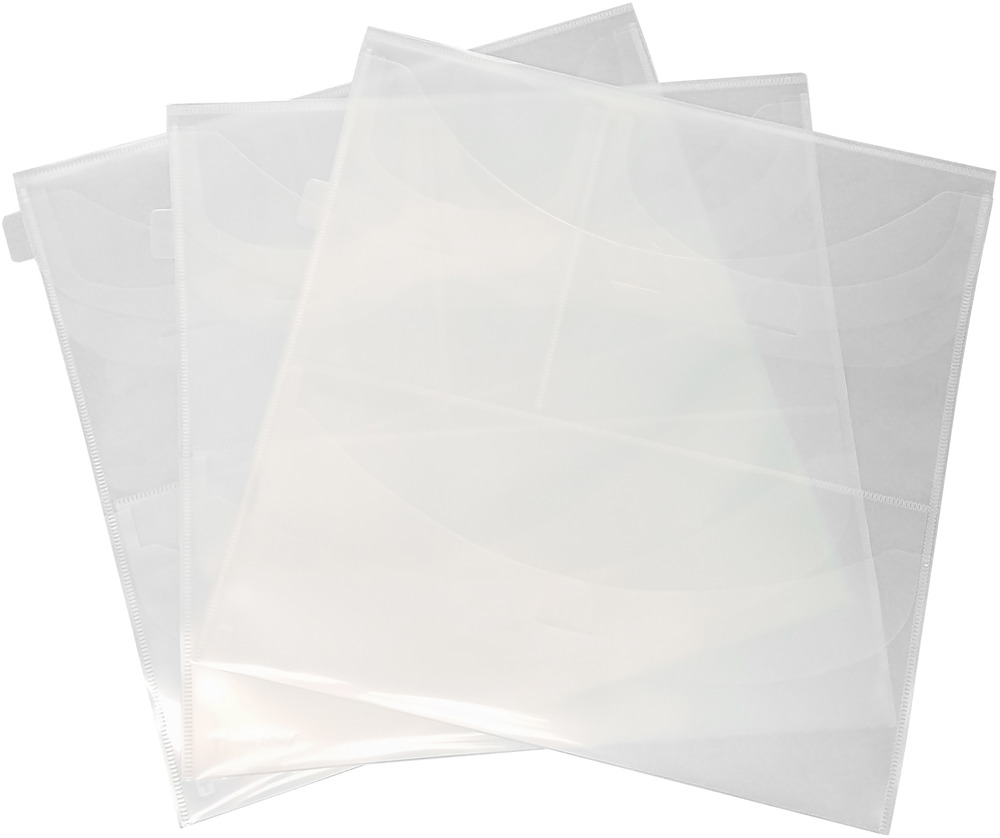
Just picked up these Folders by Totally Tiffany
Wanted to do a show and tell of my experience. 

This is the descriptive write up:

We've all got at least 1, 12x12 Scrapbook Paper Collection that incldes coordinating papers, stickers, embellishments, and diecuts. Where to keep them? We've got the perfect place: the Collection Keeper - 3pk.  These clear, tabbed, multi-pocketed pouches are just the thing to store all the pieces in one place. No more digging, searching and trying to remember what you have! Just put the entire collection into a Collection Keeper. Once you've added a label to the tab, you can easily store it in a Paper Handler, on a shelf or in a tote. Then when you're ready to create, all the pieces will be together, visible, and at your fingertips. As Tiffany says, "keep together what you use together". The Collection Keeper makes it simple!

These are my results in photo form
In hind sight, I should have noted that the description did not include chipboard, to whit, I have a lot for each collection. I am overall very pleased with the results. 
The individual packs were broken up and placed in the back pouches. I will note that if you have tiny pieces make sure you have them in the bottom half of the pouches. They are curved for easy access, however that also means they will slide out from under the flap. I may add a piece of mylar to keep them all in place if I travel with the pouches. 
So far I used them as I intended when I purchased them. For the Stamperia collections I have. This includes full paper packs @22 sheets in this one was a bit of a trial to get into the 12 x 12 slot, but I did it! Also Rice paper sandwiched in between the back of the paper and Chipboard. 
The pouch is absolutly Stuffed, but it is very nice to  have it all in one place so I can grab and work on it.  The struggle is real. Do I have too much? I think not, I just need more Totally Tiffany !!!

Please note that I do not get any perks for my opinion one way or the other.


Friday, March 12, 2021

Fun Friday with Pam

 I am starting out this weekend slightly behind.......and guess what?

Seriously 2 in the  morning?
And before you know it, it will be Monday!

Friday, September 25, 2020

Fun Friday with Pam

 THIS IS WHERE I AM TODAY AND TOMORROW

GREAT CANADIAN SCRAPBOOK CARNIVAL

HOPE TO SEE YOU ALL THERE

CHECK OUT SCRAPENDIPITY'S 

'FREE CLASS '


AND SELENA'S SPECIAL DEMONSTRATION


Friday, June 12, 2020

Fun Friday with 'YOU'

CUSTOMER CORNER
This is where you guys can share your inspiration, if you send Selena pics she will post in the newsletter and on facebook, if you don't want your name posted let her know, otherwise she will go ahead :-) 
Lindsy Cummings has been very busy scrapbooking up a storm! Even I get to be in her page lol we watched a movie, together apart! 
 
Chris Suminski makes the funnest cards, here is a cute creation from the NY comedy stamp set lol

Friday, June 7, 2019

Fun Friday with Pam

Neverland Mini Book

This is a mini book. Perfect for smaller boy photos.
 Just covered the base of a black shaped chipboard from the stash
 Most of the pages have a tuck pocket for the tiny messages
 Fussy cut detail from the feathers page {really the reason I grabbed this paper pack, well that and I can't resist Tinkerbell}
 Tinkerbell background and a washi tape border as well

 The graphics are just so detailed and fun

 I would follow this map to Neverland, just to see the Blue Mountains


Because the best intensions....
and there is something wrong with me...
I laughed too hard at this one.


Friday, April 19, 2019

Fun Friday

Some Crack ups for Good Friday


Friday, December 14, 2018

Bo Bunny Calendar, Fun Friday with Pam

Book Calendar, January, February, March, April
 Bo Bunny Banner Year, Calendar Book. See details below
After stamping addition below
 
The spine was made with a sturdy cardstock cut as the same width as your book. Scored at 1/2" - 1/2"- 1/4" repeat, you may have to piece two strips together to do your entire 12 pages with covers. Once you have enough scored, fold with a folding tool. Then secure the 1/2 inch measurements back to back. You will secure the spine as you go between the chipboard base and the wallpaper base.
To make your pages cut 13 chipboard pieces at 6" x 6" Secure one piece to each spine carefully to form the book base.
This is the detail of each 'background page'
NOTE: the top flap on the left hand side and the side flap on the right.
You will make these flaps out of the same cardstock as your background page covering.
For each month you will need 2 sheets of 8-1/2 x 11
               NOTE: This size works best as you will have left over pieces to                       use as matting for photos or inserts
Cut two @ 6" x 6" or to fit each page at full coverage
Cut two flaps:
   one @ 1" x 5 score at 1/2 " fold
   one @ 1" x 4-1/2 score at 1/2 " fold
Cut two @ approximately 7" x 2-1/2"
Score along sides and bottom at 1/2" This will form the pockets along the bottom of each page.
Trim your pocket corners so when you close them they will lay flatter.
Secure one to each side on the bottom. You may have to adjust the fit on one side to have them fit perfectly.
Each month has an identical sheet of cut outs.
Cut them completely apart.
Ink all edges of each piece before gluing down.
Journaling attaches to flap on top left, month to flap on right hand side.
Tag detail. cut one slightly bigger of background paper and one slightly smaller of white or crème paper. Assemble as one unit, journal, special note, quotes on the inside of tag.
Above is the plain shot. To dress them up a bit, find a stamp you like and stamp away. This is just a background, you will be adding in your month by month details later. You can add in photos under each flap. Really make it your own.
After above
Before below


Use little bits to make a matchbook tuck in.
Continue with the same basic process for all months
Each month will have an extra journal card I created with a stamp. This way you can make note of your special dates to  remember. they are stamped both sides for a total of 32 lines. This will certainly cover each day of the month.


Don't forget to consider the back sides of this
 gorgeous paper in case you like it better.
 

How Make Book Tutorial in January 'this post'  
January-February-March-April HERE 
May-June-July HERE
August-September-October HERE
November-December HERE