Scrapendipity : scrap·en·dip·i·ty

The gift of making fortunate discoveries by accident, a talent for making discoveries while searching for other things.


Sunday, June 11, 2017

Lavendar Haze Kit Blitz 3


Mini Book:
 The first thing to do is to cut up two of the tag sheets. A large one and the small one. Next arrange them in an order that you like.
Cut some coordinating ribbons and zigzag the ribbons to the ends of each card. NOTE: you can do two at once and make pockets as well. I made 6 pockets by stitching the small cards back to back. Next sew the ribbons gradually together to form a spine for your book. {You could also staple them together}


Using the small Tim Holtz stencils as a guide, I cut six tags, two from each color card stock, then six 1/2 inch smaller of the kit paper scraps.
Ink your edges before securing the pattern paper to the background tag.


I dabbed black gesso onto each stencil, then used a roller tool with a paper towel in between to transfer the pattern to the front and back of each tag.

Back view ^
Front view
I embellished each tag with a dragonfly from the sticker sheet, then added a ribbon through the holes.
This is the finished top view. I will be adding photos, sentiments and personalizing it as a graduation gift for my Grand Daughter!
Check back next Friday for more Lavendar Haze Kit work!


Saturday, June 10, 2017

Lavendar Haze Kit Blitz 2


Its a trinket catch-all box
We don't actually eat a lot of this cheese, but, I have been hanging onto these sturdy little boxes for forever! They were the perfect base for this project.
Open view
After looking over the kit papers, I chose to cut a 1" border for each of the 6 boxes. I glued as well as stapled the borders to each box. NOTE: they will not cover the entire perimeter, but I glued the uncovered portion to the paper background, so you cannot see it. This will also allow for a good adhesion.
I picked a background piece and played around with the box placement. I penciled a thin registration line for each layer.
I used double sided tape for the magnets and secured them to a piece of sewers waist band tape. I ran the tape the full length of the webbing, allowing for an overlap piece. I also decorated the flap end with a piece of ribbon, then sandwiched the bottom flap in the lower folded edge of the background paper.
 This made it very sturdy, you could also use a piece of pliable chipboard or other such cardboard.
 

Using one of the lids, I simply created a circle temple slightly larger than the actual lid. Cut the edges at 1/4 inch intervals so it would shape over the lip. I stapled a reinforcement piece of webbing to the outside edge, then added double sided tape and covered the rim with ribbons from the kit.

 More to come soon, this is a HUGE paper kit!
 
http://www.scrapendipitystore.com/kaisercraft-page-of-the-month-kits-lavendar-haze.html
In store and online HERE

Friday, June 9, 2017

Lavendar Haze June Kit Blitz

Selena has done it again. She has put together a gorgeous 
limited run Kit pack for June 
This kit is has an amazing assortment of double sided 12 x 12 papers that includes 2 of each sheet! 6 coordinating quality cardstock. Stunning silver emboss vellum, a pack of 50 buttons, Washi tape dragonfly charm, tiny clothes pegs, die-cuts, a huge pack of ribbon, dauber tool, embossed sentiment, as well as the matching sticker sheet!
I haven't tried my hand at a card for a very long time
Fooled around with a fancy edger trimmed up the stack
NOTE: I cut a scrap piece the same size as the emboss sheet to do the cuts first to make sure they would fit properly with my punch!
 I wanted the emboss to show up a bit more so first placed some water soluble distress ink pad prints on the craft sheet. Then spritzed it with water.
Then pulled it into the dauber and placed random color dots.
I flipped it over to spread the ink and give a light watercolor effect
And there it is! a card top!
 

Wednesday, June 7, 2017

NEW NEW NEW

June Kit " Lavendar Haze" is in the store!
Check in Friday to see what you can do with this beautiful kit!
 
Fathers Day Stamp HERE
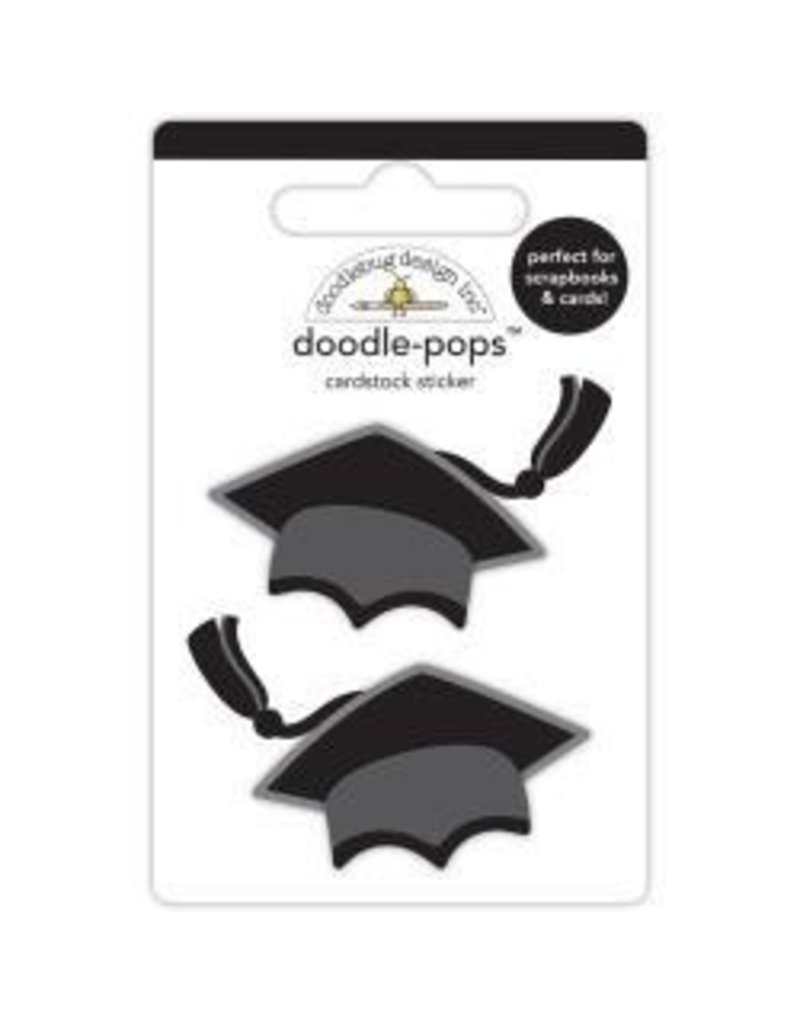
Grad Caps HERE
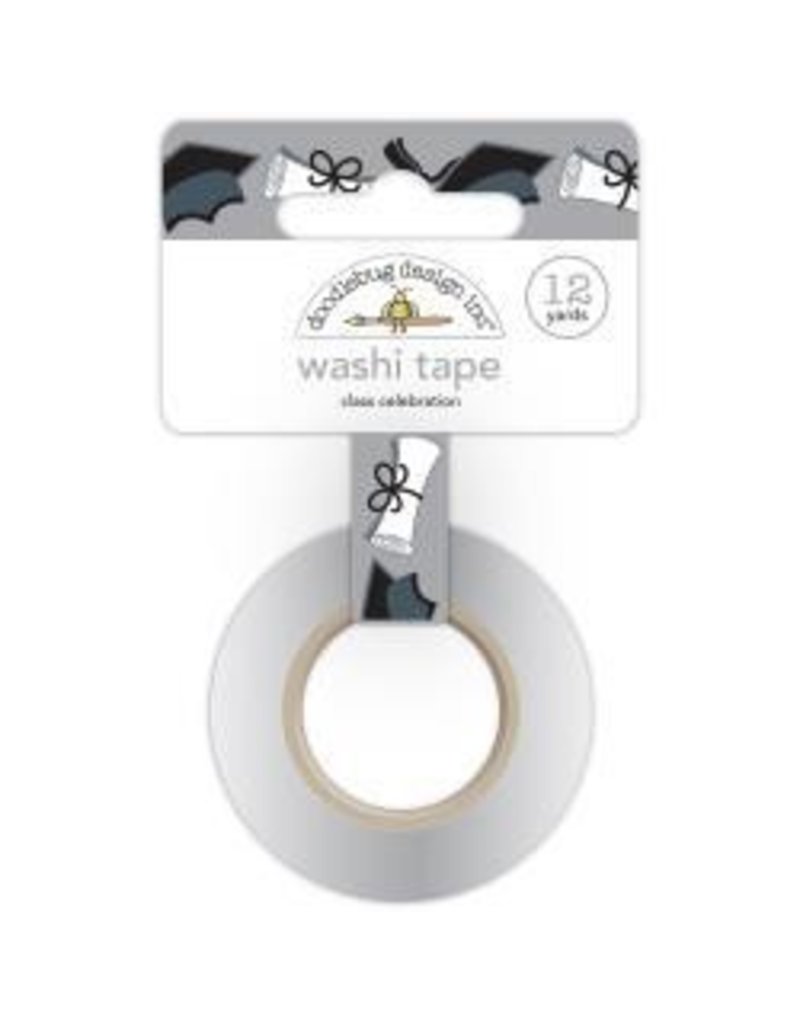
Grad Cap Washi Tape HERE
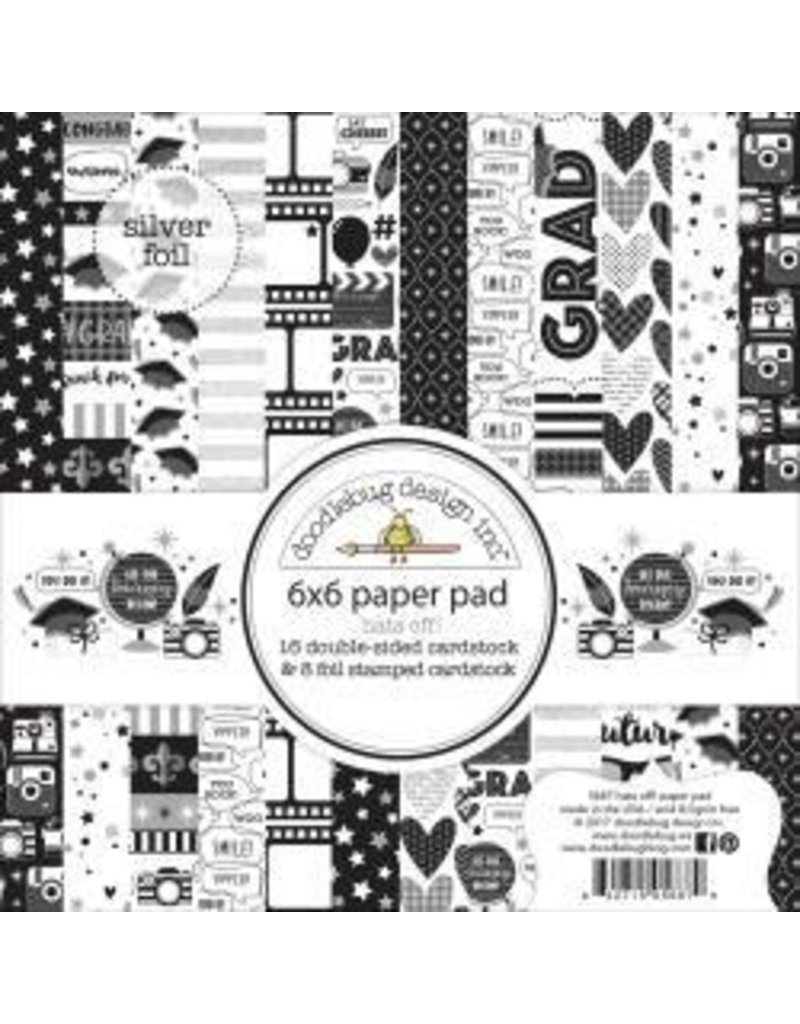
Hats Off Paper pack HERE
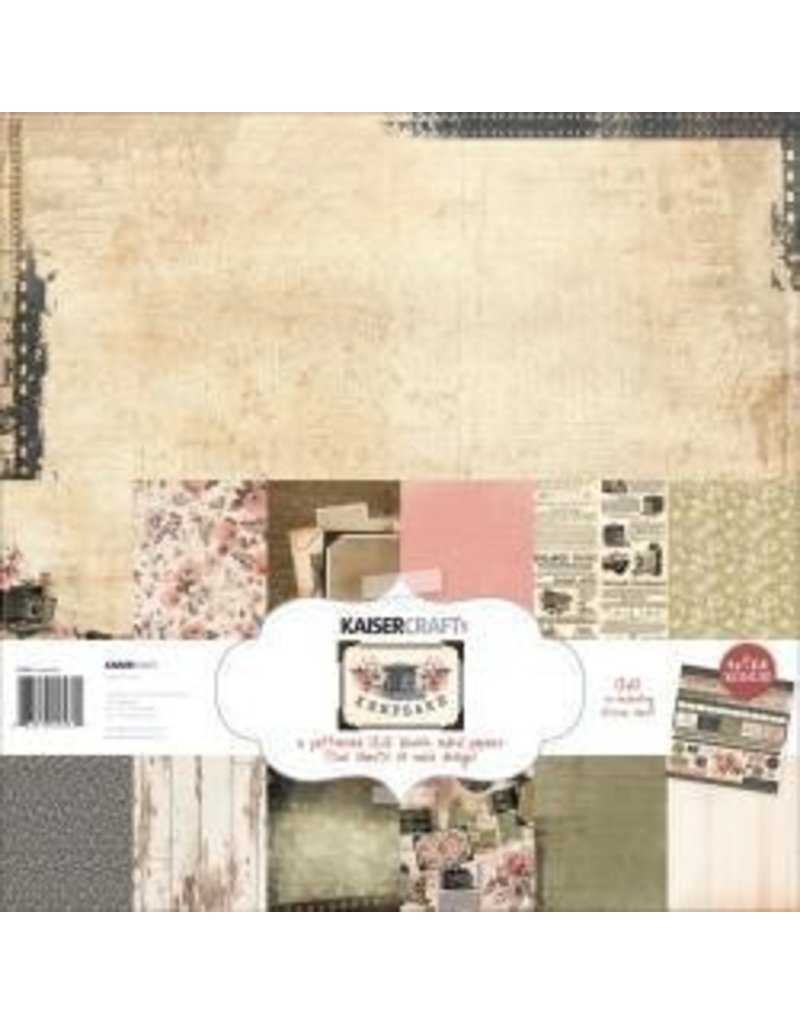
12 x 12 pack HERE
12 x 12 HERE
Found Relatives HERE
Mini Frames HERE
Pocket Cards HERE
Bluestone HERE
Bricks HERE
Metal Panels HERE
Boardwalk HERE


Stamp HERE
Large button Cups HERE
Coffee Stamp HERE
 
Coffee Talk Buttons HERE
 
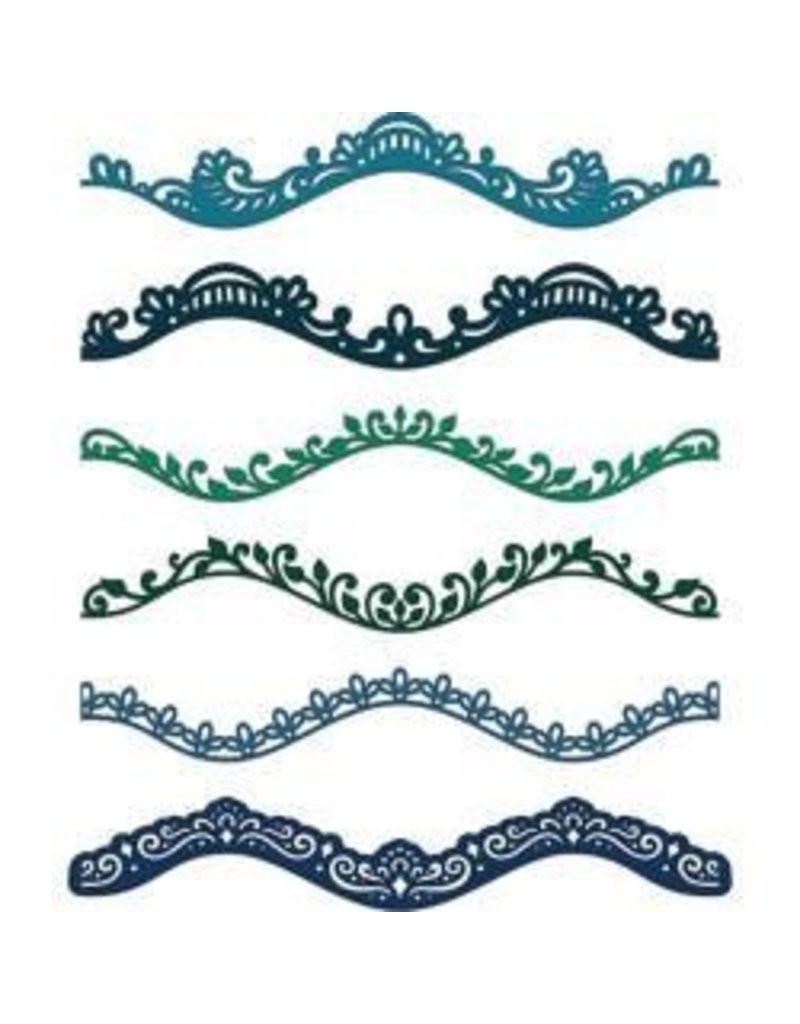
Delicate Borders die HERE


208 3400 14th St NW Northmount Plaza (facing Chelsea St) Calgary, Alberta
See google directions HERE

Monday, June 5, 2017

Copic + Prismacolor Coloring with Shari - TBA

 
- Mystery cards and date
Intermediate/Advanced Class
 
Do you love to color with your Copic markers? Wondering how to get that extra depth and highlight on your image!! Then this class is for you!  Join a fellow Copic enthusiast for a wonderful evening of coloring and chat!
For this class Shari has designed three wonderful cards that you will be building, and then finishing off with an image you have colored yourself with your markers.  After your images are colored, you will be shown how to add depth and highlights with Prismacolor pencils and gamsol ( this is optional, the cards are wonderful without this extra step ). The cards for this class are being designed right now, and may include something to do with a big party that Calgary has every July!!!   For a hint take a close look at the photo!!  Shari will be guiding you through any techniques that are new to you.
Please bring your basic supply list (see top of newsletter for the list), Copic markers, Prismacolor pencils and gamsol.
Date - To Be Announced
Time - 6 - 8:30 pm
Fee - $30.00 (plus GST)

Make and Take with Holly June 8

Good morning ladies.  Hope everyone had an awesome weekend.  Summer is almost here.  This weeks all occasion card is a reminder of that.
 (Choose your own sentiment)

Email hollyth@shaw.ca to sign up for 10am 11am noon 2pm 3pm 4pm or 5pm.

Remember your adhesive and a travel mug for coffee.

Hope to see you Thursday.

Copic + Prismacolor Coloring with Shari June 19

Intermediate/Advanced Class


Do you love to color with your Copic markers? Wondering how to get that extra depth and highlight on your image!! Then this class is for you!  Join a fellow Copic enthusiast for a wonderful evening of coloring and chat!
For this class Shari has designed three wonderful cards that you will be building, and then finishing off with an image you have colored yourself with your markers.  After your images are colored, you will be shown how to add depth and highlights with Prismacolor pencils and gamsol ( this is optional, the cards are wonderful without this extra step ). The cards for this class will include these two darling Stamping Bella images who are waiting for Stampede to arrive, as well as one other soon to be announced card.  Shari will be guiding you through any techniques that are new to you.
Please bring your basic supply list (see top of newsletter for the list), Copic markers, Prismacolor pencils and gamsol.
 
Date - Monday, June19
Time - 6 - 8:30 pm
Fee - $30.00 (plus GST)