Scrapendipity : scrap·en·dip·i·ty

The gift of making fortunate discoveries by accident, a talent for making discoveries while searching for other things.


Showing posts with label Bo Bunny. Show all posts

Wednesday, November 1, 2017

Bo Bunny Get it before its GONE

Bo Bunny as we know it is undergoing a transformation.
Pick up the last of what we have in stock. Complete your collection!
 
Icon Stamp HERE
Doily Die HERE
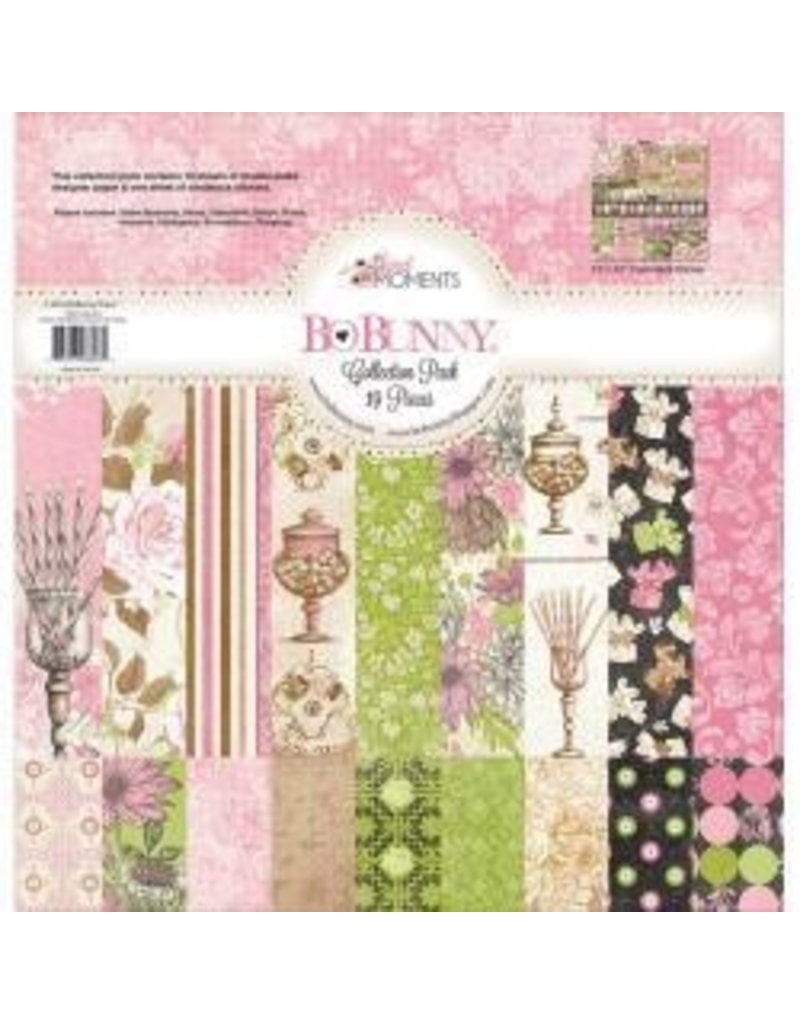
12 x 12 Sweet Moments HERE
Noteworthy pack HERE
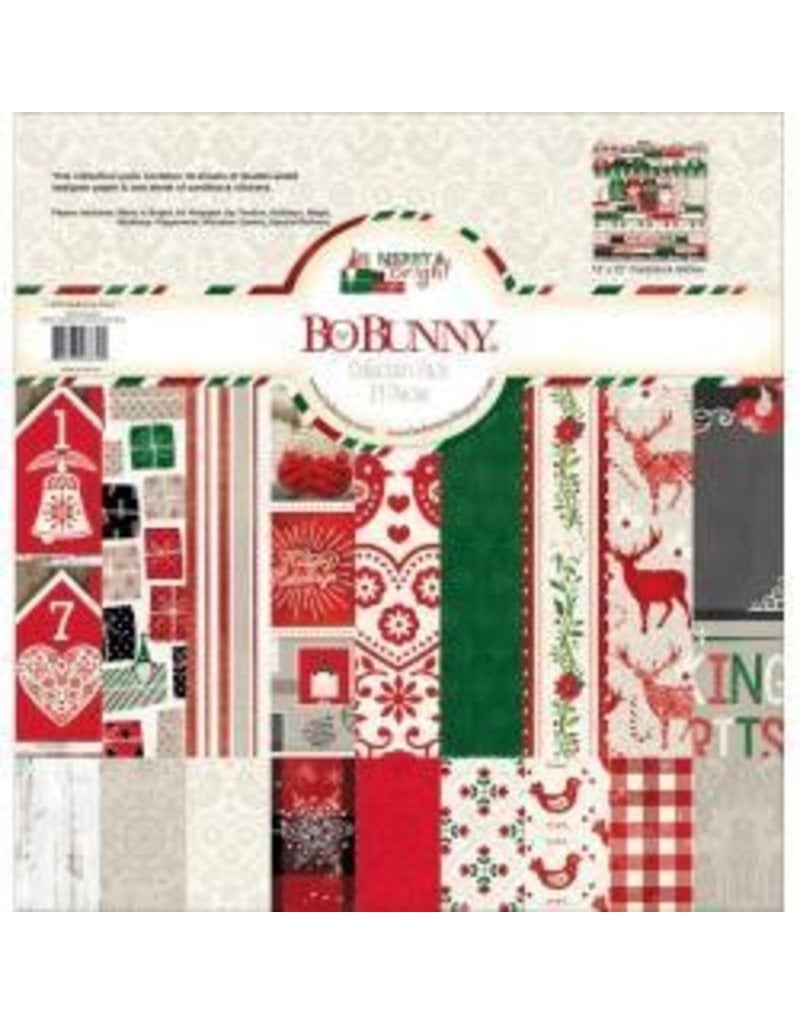
12 x 12 Merry and Bright HERE
Noteworthy Pack HERE
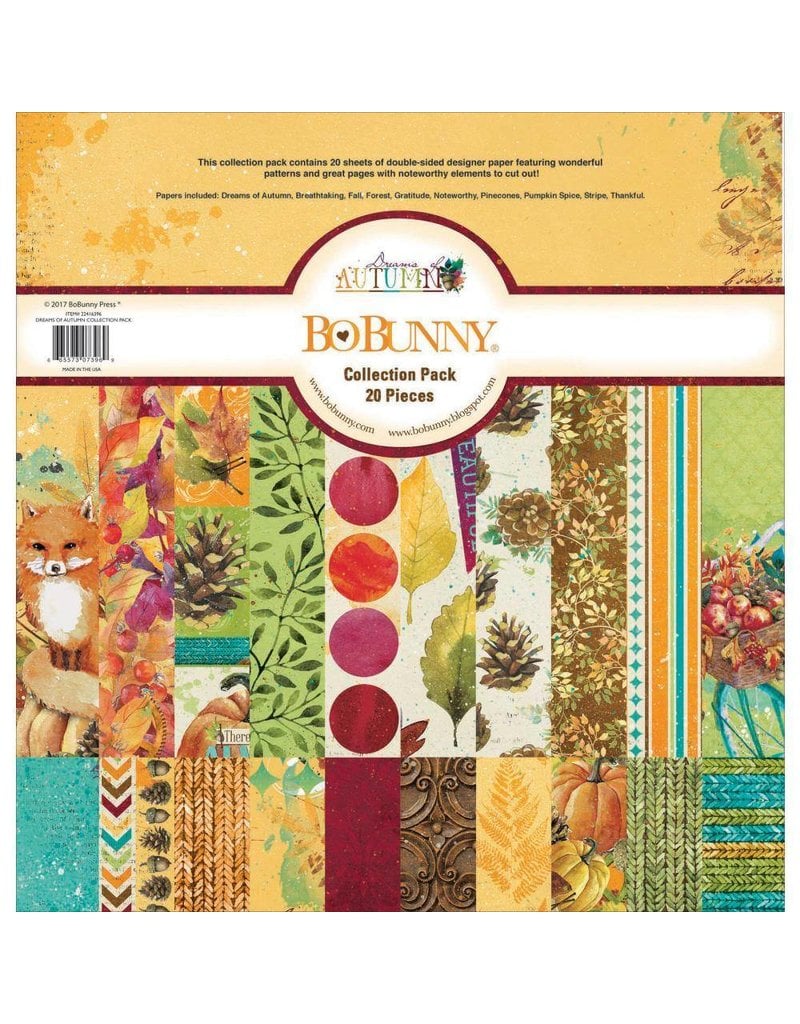
12 x 12 Dreams of Autumn HERE
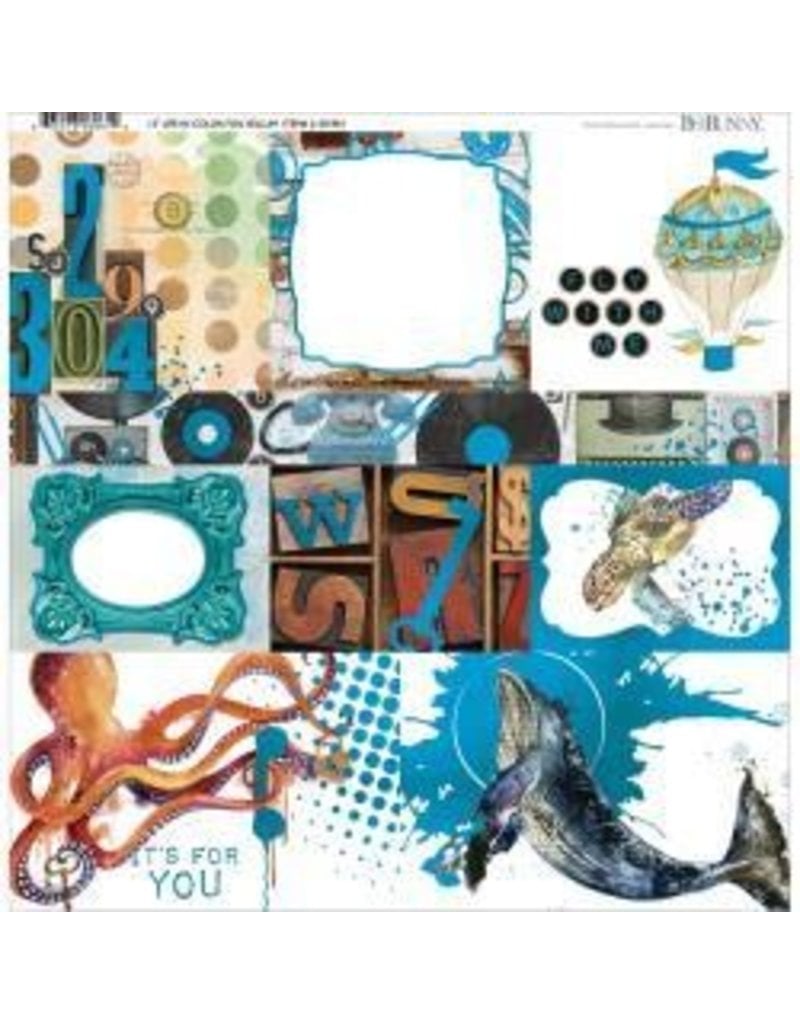
12 x 12 Down by the Sea HERE
6 x 6  Down by the Sea  HERE
Ephemera Down by the Sea HERE
Vintage Dot Blueberry HERE
See more Vintage Colors HERE
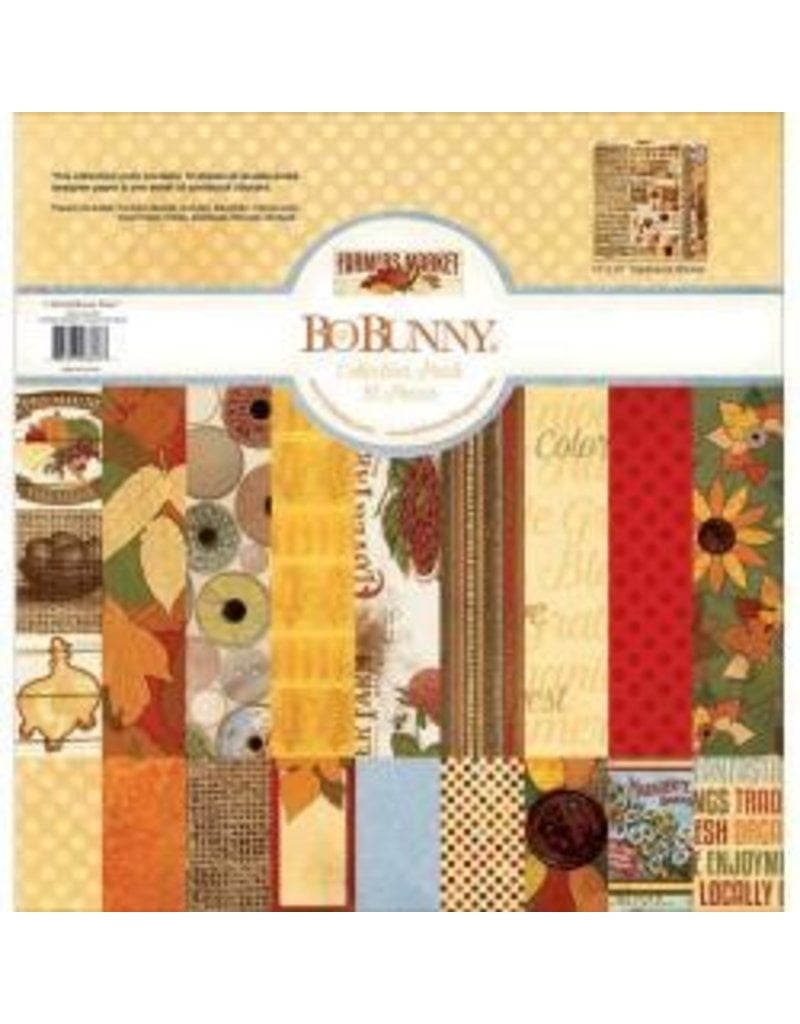
12 x 12 Farmers Market HERE
All Foil Vellum HERE
Drop by the store to see more!
 
 
http://www.scrapendipitystore.com/

Click on LOGO to shop online today!!
208 3400 14th St NW Northmount Plaza (facing Chelsea St) Calgary, Alberta
See google directions HERE

Friday, September 29, 2017

Fun Friday

Fast Cards

These simple stacked cards are made with the Bo-Bunny 'Live Life in Color' paper. A bit of inking edges and some glitter and they were done!
 Shhh they are a secret!
I used a stamp from the stash for the sentiment and envelope decorating.
The Ninja is from free online graphic embellished with glitter and colored to suit the paper.
 
thanks Pinterest for the funnies


Tuesday, October 25, 2016

Two Fall Cards!

Hi Friends! Karla here today with some Fall cards I made a couple weeks ago for World Cardmaking Day.  I thought I should share them here while Fall is still in the air!

For first card I layered a handcut vellum banner over a woodgrain paper background and tucked some diecut leaves behind it.

 Then, I used the 'thankful' and pumpkin cut files from Creative Scrapbooker Magazine - it's free and  you can download it here along with other free files!

I used some Fancy Free patterned paper behind my pumpkin and added some sequins and a couple drops of yellow Izink. Some faux stitching using a red pen on the vellum finished it off.

For my second card I watercoloured a cute little pumpkin girl stamp sitting on a tree stump, both older stamps from C.C. Designs. I masked off the girl to make her look like she was sitting directly on top of the stump and then used Distress and Tombow markers to watercolour the image before fussy cutting her out.

I layered her over a diecut background and backed the cut with BoBunny papers from the Believe collection. I love the look of different papers behind a diecut!!

Inside, I added a sentiment and pumpkin image that I coloured in with coloured pencils.

I added some pretty sequins and a button from the 28 Lilac Lane collection, and used a cute little ribbon across the top of my card. I gave this to my niece at Thanksgiving, which in Canada was a couple weeks ago, and she loved it!

This is my last post here on the Design Team at the Scrapendipity Blog. I will miss you all and thank Selena so much for having me! You can always find me on my blog Creative Love Affair - and of course at the Scrapendipity store! Thanks so much for stopping by today, and I hope you have a wonderful, crafty week!

Tuesday, September 13, 2016

A+ Teacher Card!

Hi there crafty friends!! Karla here today, sharing a teacher card today using a Stamping Bella teacher stamp I've had in my stash for quite some time now - but still love! I actually made this for my daughter's teacher at the end of the year in June, but I think it could totally be used for a September new teacher card!

I stuck with a pretty basic design on a 5.5"x 5.5" top folding card base, using some BoBunny papers along with the blue and white polka dot paper. I love the primary colour scheme!

I used some Prismacolor and Hobby Colour Markers, which are alcohol based to colour in my image before mounting it on some red patterned paper. The shiny blue pearls from 28 Lilac Lane add just the right shimmer and matched perfectly. I was so excited to see that Selena had them in her store and online!

Inside, I used some cute sentiments that came with the set!

There's something fun about a top folding card!

Thanks so much for stopping by today! I'd love to hear whether you give teacher cards other times of the year and not just holidays or end of the year! Have a wonderful, happy and crafty week!


Monday, June 27, 2016

Page Layout with Selena August 6

 
The next class we will be using the beautiful Bo Bunny Butterfly Kisses line. 
August 6 Saturday @ 11:00 
email Selena to reserve your spot missmenace@shaw.ca
 
Class price $37.00

Tuesday, June 21, 2016

Pocket Letter using Scrappy Supplies!

Hi crafty friends!! Karla here today. We are starting to have some lovely weather here in Calgary, Alberta, and since you never know when that will change we've been trying to enjoy as much as we can of it. When I do get a minute to be crafty, one of the things I do love to do is create something out of my scrapbook supplies even if I'm not scrapbooking!

Today, I'm sharing an eye spy pocket letter with you that I made for a swap in one of the Facebook groups I'm in. For the background papers for my pocket cards I used the 6x6 BoBunny paper pads from the Believe and Butterfly Kisses collections. I just love the papers in both of these collections! The Believe papers especially have a mixed media layered look to them that is so pretty.

I included at least one of each eye spy item on my page:
- Owl, Heart, Key, Cupcake, Mason Jar, Butterfly, Clock, Crown and Coffee Cup


I pulled out lots of stamps, including stamps from Pretty Cute Stamps, Tim Holtz, Imaginesce and Graphic 45 and whatever else I felt would work with this pretty letter.

I added some Tim Holtz Chit Chat stickers and used some Stickles and Glossy Accents along with a doily that I cut up and some washi tape for closing up the pockets with beads and sequins on the back.

On the back, I added some goodies for my partner and a note from me.

I love that these pocket letters can fold into thirds and fit into an A10 envelope! I decorated my envelope with some Tim Holtz stencils and coordinating stamps and some Distress Inks.

Thank you so much for stopping by today! I'd love to hear what you've made lately with your papercrafting supplies!


Tuesday, May 17, 2016

DIY Scrapbook Embellishment Tags!

Hi Friends! Karla here today. I hope you all had a wonderful weekend! My favourite thing was making these cute DIY tags :) I've been watching lots of YouTube videos on making your own scrapbook embellishments lately and thought I'd give it a try.

I pulled out a sheet of BoBunny Sweet Life paper from a 6x6" paper pad and cut it into 6 tags, each measuring 2x3". I rounded the tops of the corners with my We R Memory Keepers corner punch and sponged Victorian Velvet Distress Ink on the edge. I used a circle punch to punch out a circle of coordinating paper and, after gluing it to the top of my tag, hole punched through both layers so that it looked like I had reinforced the tag hole. I have lots of little scraps of paper, especially longer border strips that I was able to cut into banners and layer on my tags.


My circle punches worked to punch little pieces of leftover papers from my 6x6" pads and, together with some fun rectangles cut from an older Simple Stories pad, as well as some Tim Holtz Chitchat stickers, I was able to create some pretty tags and use up supplies at the same time!

I tied some embroidery floss through my tag and added some homemade 'enamel dots' that I made with a sparkly silver gluestick and my hot glue gun. The Ranger craft sheet is excellent for making these on!

Thanks so much for stopping by today! I hope this gives you some ideas to use your scrapbook supplies in a creative way :) Have an awesome crafty week!


Tuesday, December 1, 2015

Cold Family Fun Layout!

Karla here today, and I'm so excited we got skates over the weekend! My 4 and 8 year old girls are really excited to get out on the ice to try them out. I think this year will be a learning year - I haven't actually skated for quite a few years! But, I think it will be fun :) We have cold, snowy weather here in Calgary, Alberta, Canada for so many months it really seems like we have to make the best of it. There are a lot of local ice rinks as well as outdoor community rinks, so I'm hoping it will be a fun family activity!

And, since we are already planning winter activities, what better time to scrap some winter pics with this awesome BoBunny Whiteout paper collection?!! I love the glittery shimmer of these papers! I added some papers from my stash that were purples and blues to coordinate and pull in colors from the photos. I used some Distress Inks to sponge around the edges of my paper lightly and added some faux stitching with my black Smash Book pen - Love!


I cut the Family Fun tickets apart and paired them with the COLD letters that came in a coordinating BoBunny paper ephemera pack for my title.

An AC punch that I have made these awesome notebook punches at the top of my paper tag that I tucked behind my photo.

I used the sketch below as a base for my layout - I love using sketches and I find it stretches my imagination for combing patterned papers!

Sketch by Stuck?! Sketches:

Here are two more recent layouts I've made with this collection - Fresh Powder and Impression! I hope you have a lovely, crafty week, and thanks for stopping by!


Tuesday, November 10, 2015

BoBunny Whiteout Layout!

Karla here today, and I was soooo excited to see the paper in this amazing 'Whiteout' BoBunny release! The package really just doesn't do it justice - when you look at and feel this paper though.... Oh my gosh! The glittery accents they added to it are gorgeous, and it's not all over, so it has a vintage, distressed feel. The paper is so nice and thick - I am loving it!

I immediately pulled out some older winter photos that I wanted to scrapbook and I knew the sketch from the Canadian Scrapbooker Magazine November Sketchy Challenge was going to work perfectly!

I used one of the journaling cards from the 12x12 cut apart sheet as my title - how perfect for this layout! and stamped some snowflakes around my page using different Distress Ink blues.


This cup was fussy cut from a sheet of mugs with awesome sayings on them and the tickets are on a 12x12 sheet too - I just cut the ones I wanted out.

I used a blue snowflake sticker from the sticker sheet that came in the paper pack on a tag cut from some of the paper and added another tag for my journaling.

Amie is in the 'silly face' phase, but I'm just going with it. I think you should scrapbook lots of photos whether they are professional quality or just those day to day real life ones!

Here's the sketch:
Thanks so much for stopping by! Don't forget to check out the Online Canadian Scrapbook store - Scrapendipity to pick up your own amazing supplies! I'd love to know what you're working on right now!