Wednesday, June 29, 2016


Tuesday, June 28, 2016
Memo Board Teacher Gift!
Well, we're almost to the end of June - and that means teacher gifts! Karla here today, and while we usually give gift cards to the teachers, but I think it's nice to include a little something useful as well. I saw this cute DIY tutorial on YouTube and thought it would be quick, cute, and within our budget. Erica had 3 teachers this year in preschool, and Amie wanted one for her teacher too!


We added a stamp to the top line with black ink, inserted it into the frame and tied some baker's twine through the little hole on the top of the marker to attach it to the frame.


We started by picking up four pretty 4x6 photo frames at the dollar store, along with a package of wipe off markers. We then chose 4x6 Project Life Cards - I liked these lined ones so you could easily write your message,


Lastly, we wrote a little note on the memo board before wrapping it up.


Thanks so much for stopping by today! I hope you're enjoying the last week of June and have some fun summer plans to look forward to!

Monday, June 27, 2016
Page Layout with Selena August 6

The next class we will be using the beautiful Bo Bunny Butterfly Kisses line.
August 6 Saturday @ 11:00
email Selena to reserve your spot missmenace@shaw.ca
Class price $37.00
Copic Coloring With Shari July 11

A new month means it's time to introduce a new set of cards for Copic
coloring. This month we will be completing three cards - I know the photo only
shows you two, which means that one is a total mystery ( even to Shari - lol ).
It will be a Christmas themed card, that she's working on right now, but didn't
have enough time to get it completed for the photos. Join Shari in a night of
coloring fun!! Email Shari at s.mclaughlin8@shaw.ca.
Date - Monday, July 11
Time - 5:30 - 8 pm
Cost - $28.00 (payable by cash or e-transer only)
Location - Scrapendipity store
Make n Take with Holly June 30

This weeks make and take we will do some heat embossing and inking.
Please join us to create this bright fun all occasion card.
Email hollyth@shaw.ca to sign up for 10am 11am noon 2pm 3pm 4pm or 5pm.
Be sure to bring your adhesive and a travel mug for your coffee.
If you have worn lipstick distress ink and blending tool please bring it.
(Helps speed things up)
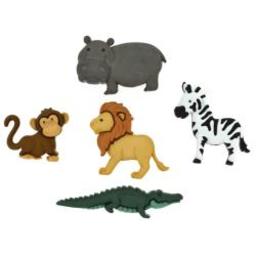
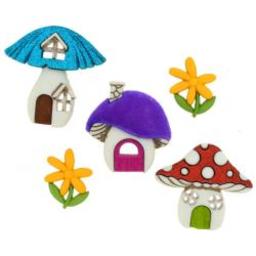
Painting with Distress Inks by Shari July 18

Are you looking for a different coloring medium - look no further! Shari
will teach you how to use your Distress Ink Reinkers and a simple water brush to
paint images in this class featuring three adorable
cards - a House Mouse Christmas card, a Whipper Snapper Dinosaur birthday
card, and a gorgeous mushroom fairy from Penny Black. Please email Shari at
s.mclaughlin8@shaw.ca to join in the fun!
Date - Monday, July 18, 2016
Time - 5:30 - 8 pm
Cost - $28.00
Location - Scrapendipity Store
Copic Class with Shari July 15

Do you have a collection of Copic markers collecting dust at home? Or have
you always wanted to learn how to color images with Copics?
Then this is the class that could start you on your journey into the
wonderful world of Copic coloring!
Join Shari in a 2 hour introduction class that will explain the techniques
of coloring and blending with these amazing alcohol based markers.
You will get to practise techniques and then complete a card of your choice
from a selection of cards Shari has designed. If you have your own Copics
please
bring them to the class, or you can use Shari's set for this introductory
class. Class Limit of 8.
Date - Friday, July 15, 2016
Time - 1 - 3 pm
Location - Scrapendipity 208 - 3400 14 St NW
Cost - $15.00
Wednesday, June 22, 2016


Tuesday, June 21, 2016
Pocket Letter using Scrappy Supplies!
Hi crafty friends!! Karla here today. We are starting to have some lovely weather here in Calgary, Alberta, and since you never know when that will change we've been trying to enjoy as much as we can of it. When I do get a minute to be crafty, one of the things I do love to do is create something out of my scrapbook supplies even if I'm not scrapbooking!
Today, I'm sharing an eye spy pocket letter with you that I made for a swap in one of the Facebook groups I'm in. For the background papers for my pocket cards I used the 6x6 BoBunny paper pads from the Believe and Butterfly Kisses collections. I just love the papers in both of these collections! The Believe papers especially have a mixed media layered look to them that is so pretty.
Today, I'm sharing an eye spy pocket letter with you that I made for a swap in one of the Facebook groups I'm in. For the background papers for my pocket cards I used the 6x6 BoBunny paper pads from the Believe and Butterfly Kisses collections. I just love the papers in both of these collections! The Believe papers especially have a mixed media layered look to them that is so pretty.
I included at least one of each eye spy item on my page:
- Owl, Heart, Key, Cupcake, Mason Jar, Butterfly, Clock, Crown and Coffee Cup

I pulled out lots of stamps, including stamps from Pretty Cute Stamps, Tim Holtz, Imaginesce and Graphic 45 and whatever else I felt would work with this pretty letter.

I added some Tim Holtz Chit Chat stickers and used some Stickles and Glossy Accents along with a doily that I cut up and some washi tape for closing up the pockets with beads and sequins on the back.


I love that these pocket letters can fold into thirds and fit into an A10 envelope! I decorated my envelope with some Tim Holtz stencils and coordinating stamps and some Distress Inks.

Thank you so much for stopping by today! I'd love to hear what you've made lately with your papercrafting supplies!


I added some Tim Holtz Chit Chat stickers and used some Stickles and Glossy Accents along with a doily that I cut up and some washi tape for closing up the pockets with beads and sequins on the back.

On the back, I added some goodies for my partner and a note from me.

I love that these pocket letters can fold into thirds and fit into an A10 envelope! I decorated my envelope with some Tim Holtz stencils and coordinating stamps and some Distress Inks.

Thank you so much for stopping by today! I'd love to hear what you've made lately with your papercrafting supplies!

Monday, June 20, 2016
Make and Take with Holly June 23

Good Morning my scrappy Friends.
I am back after a fun filled week with my
grandkids.
This week I wanted to try a new fold with you.
This week I wanted to try a new fold with you.
This is an all
occasion card and much easier to make than it looks.
Looking forward to seeing everyone on Thursday. Email hollyth@shaw.ca to sign up for 10am 11am noon 2pm 3pm 4pm or 5pm.
Don't forget your adhesive and a travel mug for you coffee.
Looking forward to seeing everyone on Thursday. Email hollyth@shaw.ca to sign up for 10am 11am noon 2pm 3pm 4pm or 5pm.
Don't forget your adhesive and a travel mug for you coffee.
Wednesday, June 15, 2016
New Lawn Fawn Stamps and matching Die!!
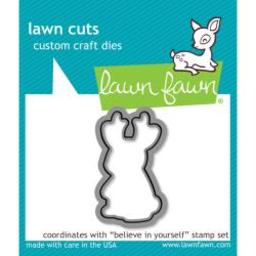
Believe Die HERE
and matching Stamp HERE

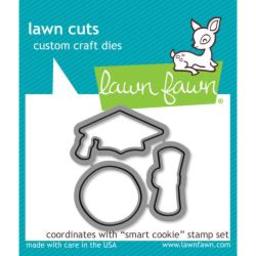
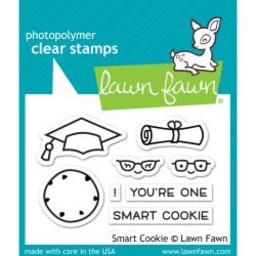
Smart Die HERE
and matching Stamp HERE
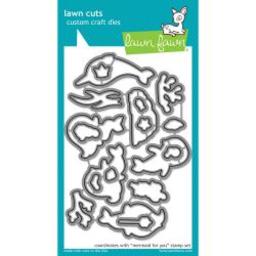
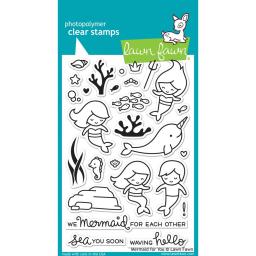
Mermaid Die HERE
and matching Stamp HERE
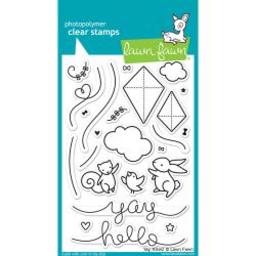
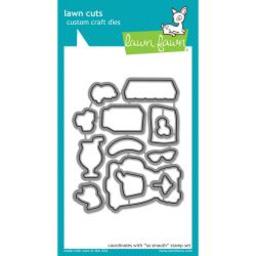
Yay Kite Die HERE
and matching Stamp HERE
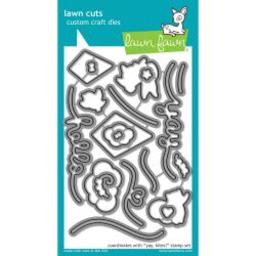
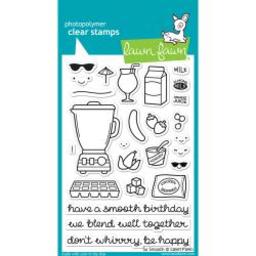
So smooth Die HERE
and matching Stamp HERE
We are OPEN in our new location
208 3400 14th St NW Northmount Plaza (facing Chelsea St) Calgary, Alberta

Tuesday, June 14, 2016
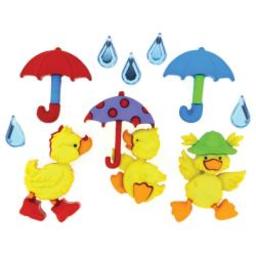
Distress Stains and Kraft Resist!
Hi Crafty Friends! Karla back today with an inky card I made while watching the Day 5 video from Tim Holtz' Creative Chemistry 101. This was such a great refresher and I can't wait to try out all the other techniques. This card focuses on using Distress Stains and stamping.

I started off by cutting a piece of the 12x12 Kraft Resist paper pad into a 4 x 5.25" piece and first adding a light layer of Picket Fence Distress Stain. Then I added Worn Lipstick and Shaded Lilac and dried my background. You can see the resist script standing out below.

Next I took Distress Inks and blended them onto my background. I love how this adds another layer of inky fun!


Here's a look at the envelope where I used some coordinating Tim Holtz stencils and stamps. You can also see how the resist really shows up after layering on some Distress Inks! I added a little banner, popped up with foam dots, with a couple more Distress stains blended onto the Kraft paper and a Tim Holtz sentiment stamp using Black Archival Ink.

Thanks so much for stopping by today! I hope you enjoy some inky fun this week!


I started off by cutting a piece of the 12x12 Kraft Resist paper pad into a 4 x 5.25" piece and first adding a light layer of Picket Fence Distress Stain. Then I added Worn Lipstick and Shaded Lilac and dried my background. You can see the resist script standing out below.

Next I took Distress Inks and blended them onto my background. I love how this adds another layer of inky fun!

I used a grey shade of Archival Ink to stamp this Tim Holtz man with the umbrella and used - my new favourite! background stamps to stamp around the edges. I added some Utee to some stamped images to add a bubbly, watery effect. I find if you heat the image from behind it will melt easier without blowing the powder around.

Here's a look at the envelope where I used some coordinating Tim Holtz stencils and stamps. You can also see how the resist really shows up after layering on some Distress Inks! I added a little banner, popped up with foam dots, with a couple more Distress stains blended onto the Kraft paper and a Tim Holtz sentiment stamp using Black Archival Ink.

Thanks so much for stopping by today! I hope you enjoy some inky fun this week!

Subscribe to:
Posts (Atom)